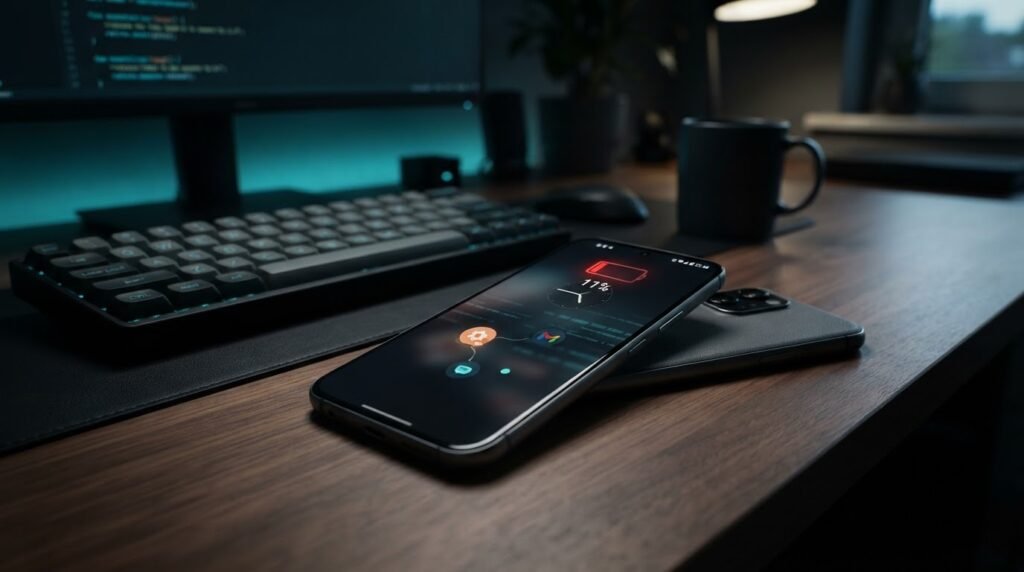

A microphone fault can interrupt calls, recordings and video even when the rest of your iPhone works normally. This guide helps you identify where the problem occurs before making unnecessary changes to your device.
Identify Where The Microphone Problem Occurs
When an iPhone microphone is not working, the first useful distinction is whether the problem happens everywhere or only during a particular activity. A voice recording with no sound, a video with muffled audio and a caller who cannot hear you are related symptoms, but they do not necessarily have the same cause.
Check whether the person on the other end of a call hears silence, distorted speech or intermittent sound. If you cannot hear them, the problem may instead involve your speaker, volume settings, headphones or connection. Record a short test in a quiet room and listen to it through a known working output. The purpose is to separate the sound being captured from the sound being played back.
Several microphone components may be used depending on the iPhone model and activity. Do not assume that a clear recording in one app proves every microphone and audio route is functioning correctly. Equally, a poor network call does not establish that the physical microphone is defective.
Remove Obstructions Before Testing
Remove the case and any removable accessory that appears to cover a microphone opening. Check whether a screen protector or camera-area accessory overlaps an opening. Test again with the phone in its normal handheld position, taking care not to cover the edges or microphone areas with your fingers.
Inspect accessible openings in good light. Do not insert a pin, toothpick, cotton swab or other object into a microphone hole. Avoid directing liquid or compressed air into it. If surface debris is present, consult Apple’s cleaning guidance for the exact model and seek service if debris cannot be removed safely.
If the problem appeared immediately after a serious impact or liquid exposure, do not keep charging or restarting a potentially damaged phone. If it is unusually hot, swollen or visibly damaged, stop using it and obtain qualified assistance. A case-removal test is useful for an obstructed opening but cannot fix a damaged internal component.
Test The Microphone With Voice Memos
Apple recommends using a short recording to investigate poor audio during ordinary calls. Perform the test without a connected headset, in a quiet area, and listen to the result at a comfortable volume.
- Open the built-in Voice Memos application.
- Start a recording and say a short sentence toward the lower edge of the phone.
- Stop recording and play it back.
- Repeat once using the same distance and speaking volume if the result is unclear.
If your voice is clear, the phone can capture sound successfully in that test. If the playback is very faint or silent, compare it through another known working speaker or headset. An output fault can make a correctly captured recording appear silent. A visible waveform is a clue that audio was captured, but it is not enough to judge its quality.
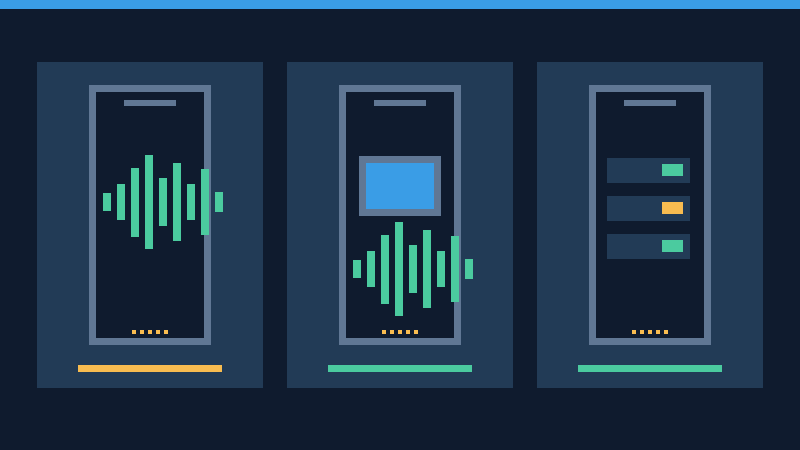
For the model-independent test procedure and additional checks, see Apple’s iPhone microphone troubleshooting guidance.
Compare Front And Rear Camera Video Audio
When the problem mainly occurs during speakerphone or video use, record short clips with the Camera app. Record one with the rear camera and another after switching to the front camera. Speak at a normal level near the upper part of the device and avoid changing the conditions between tests.
Play each video back and compare the clarity of the speech. If one clip is consistently clear and the other is heavily distorted, record the difference before investigating further. The result may reveal a problem with a particular capture configuration, but it does not identify an exact internal component by itself.
Keep the test simple: use the built-in camera, no external microphone and no editing effects. A social media app may apply processing, change the recording mode or use a different audio route, which would make an initial comparison less reliable. A few seconds of ordinary speech is sufficient for most basic tests.
Check Microphone Permissions For A Specific App
If Voice Memos and Camera work but a messaging, meeting or voice-recording app does not, check whether that app has permission to capture sound. iOS controls access to the microphone separately for individual applications.
- Open Settings on your iPhone.
- Choose Privacy & Security, then Microphone.
- Locate the affected app and allow access if you intend to use its recording or calling features.
- Return to the app and test its microphone function again.
If the app is absent from the list, it may not have requested access yet. Open the relevant recording feature to trigger its normal permission request, if available. If access is already enabled and only that app continues to fail, review its settings, supported version and developer assistance. Apple explains this permission system in its iPhone hardware access guide.
A microphone permission should be granted only when you trust the application and need the feature. The orange privacy indicator can show that an app is using the microphone without the camera, while the green indicator can appear during camera use. These indicators do not guarantee that usable sound is reaching the intended recipient.
Check Bluetooth, Headsets And Other Audio Routes
If your iPhone is connected to a wireless headset, car audio system or wired accessory, the accessory can affect which microphone or output is active. A damaged headset microphone can make it seem as though the iPhone itself is failing. Start by disconnecting the accessory or selecting the phone’s own call audio route where appropriate.
For a controlled comparison, use the built-in Voice Memos and Camera tests with external audio equipment disconnected. Then reconnect the accessory and repeat a relevant test in the same application. Some apps and accessories do not support identical microphone routing, so interpret the results in context.
Check that any detachable headset microphone is connected properly and is not muted. If the accessory has its own application, review its documented audio settings rather than trying unrelated iOS changes. Likewise, check whether a call or meeting application has its own mute control or input selection.
Do not permanently disable Bluetooth merely because a connection caused a problem once. Determine whether the issue returns with one particular device. If it does, consult that accessory’s official support guidance and try a known-good alternative.
Separate Poor Call Quality From A Recording Fault
A caller may have difficulty hearing you because of a weak network connection, a problem at the other end of the call or audio processing by the calling service. If short local recordings sound clear, test one ordinary phone call and, where available, one internet-based call in a location with a reliable connection.
Ask a trusted person whether the sound is continuously muffled, periodically cuts out or is entirely absent. Do not record a private call without appropriate permission. Instead, record the observations in writing so you can compare them with the local recording test.
Check whether the affected app or call supports microphone processing modes such as Voice Isolation. If you changed an audio mode recently, compare with its default behavior where the option is available. Mode availability depends on the device, software and type of call. Do not confuse processing settings with a physical microphone repair.
If the audio problem occurs only on one connection or with one contact, compare another suitable connection or calling service. If every local recording is also poor, network troubleshooting is less likely to resolve the underlying capture issue.
Restart And Update Without Erasing The iPhone
A normal restart is a reasonable next step when an accessible iPhone develops an unexplained audio issue. Save unfinished work, disconnect nonessential accessories and restart with the model-specific controls. See Apple’s restart instructions if you are unfamiliar with the procedure.
After restarting, repeat the same local tests rather than immediately changing several permissions and audio options. If the problem started after installing an app, check for a supported app update. Review the installed iOS version and available supported updates, making sure important data is backed up before major changes.
A factory restore is not a routine microphone fix. It can erase your information and will not repair physical damage. If you need to protect or recover device information, see our computer backup restoration guide before considering major recovery operations.
Interpret The Results Before Arranging Service
| Test Result | Possible Area To Investigate | Recommended Next Check |
|---|---|---|
| Voice Memos and both videos sound clear | Call connection, app settings or accessory | Test the affected activity with accessories disconnected |
| Only one app cannot capture audio | App permission or implementation | Check access and contact the developer if needed |
| Audio fails only with a headset | External microphone or routing | Test without it and compare a known-good accessory |
| One camera mode produces poor audio | Capture configuration or hardware | Repeat the controlled test and seek assessment if persistent |
| All local recordings remain silent or distorted | Obstruction or hardware fault | Arrange qualified inspection after safe initial checks |
These results are diagnostic leads, not proof that a particular microphone has failed. Write down the iPhone model, installed software version, affected activities and the results of each test. A short nonprivate test recording may help demonstrate the symptom to a repair provider.
For a device that will not power on after damage, follow our iPhone startup troubleshooting guide rather than attempting microphone tests. If the phone is accessible but has other recurring symptoms, investigate them separately and preserve important data before service.
Frequently Asked Questions
Why Can People Not Hear Me On My iPhone?
Check mute controls, connected accessories and local voice recordings. Poor capture, network problems and app-specific audio settings can all contribute.
How Can I Test My iPhone Microphone?
Make a short Voice Memos recording and compare front and rear camera video audio. Listen through a known working output and keep the test conditions consistent.
Why Does My Microphone Work In One App But Not Another?
The affected app may lack microphone permission or have its own mute, input selection or software problem. Review its access under Privacy & Security.
Can A Phone Case Block The Microphone?
Yes, an incorrectly fitted case or accessory can obstruct an opening. Remove it temporarily and repeat the recording tests.
Should I Clean An iPhone Microphone With A Pin?
No, inserting a sharp object can damage the opening or internal components. Follow appropriate model-specific cleaning guidance.
Will Resetting My iPhone Fix Its Microphone?
Not necessarily. A reset cannot repair a defective microphone, and a factory restore can erase valuable information. Use focused tests and qualified service instead.
Official References
Apple Support: iPhone Microphone Troubleshooting, Hardware Access And Privacy, Restart An iPhone and Cleaning An iPhone. The illustrations are original conceptual graphics, not actual screenshots. The instructions are documentation-based and have not been physically tested on every iPhone model. Documentation may have been revised since the assigned archive date.